I once tried to make a batch of classic chocolate chip cookies for my niece’s birthday, only to end up with a soggy, flat disaster that could have doubled as a pancake. The kitchen was filled with that sad, sweet smell of “I‑should‑have‑used‑something‑crunchy‑instead,” and I swore I’d never attempt cookies again. Then, on a rainy Tuesday, a friend dared me to toss some Rice Krispies into the mix, promising a texture that would “crackle like fireworks on New Year’s Eve.” I was skeptical, but the idea of turning a kitchen flop into a crunchy masterpiece was too tempting to pass up. I grabbed the pantry staples, preheated the oven, and set out on a culinary experiment that would change my cookie game forever.
Picture this: the butter melting into the sugars, creating a glossy caramel pool that smells like a bakery on a Sunday morning. As I folded in the Rice Krispies, they swelled and sang, each piece a tiny snowflake waiting to melt into buttery bliss. When the dough hit the sheet pan, it spread like a smooth, chocolate‑streaked river, the mini chocolate chips glinting like dark jewels. As the cookies baked, the edges turned a deep amber, the tops puffed just enough to trap a pocket of steam, and the whole kitchen filled with a scent so intoxicating you’d think a chocolate factory was right next door.
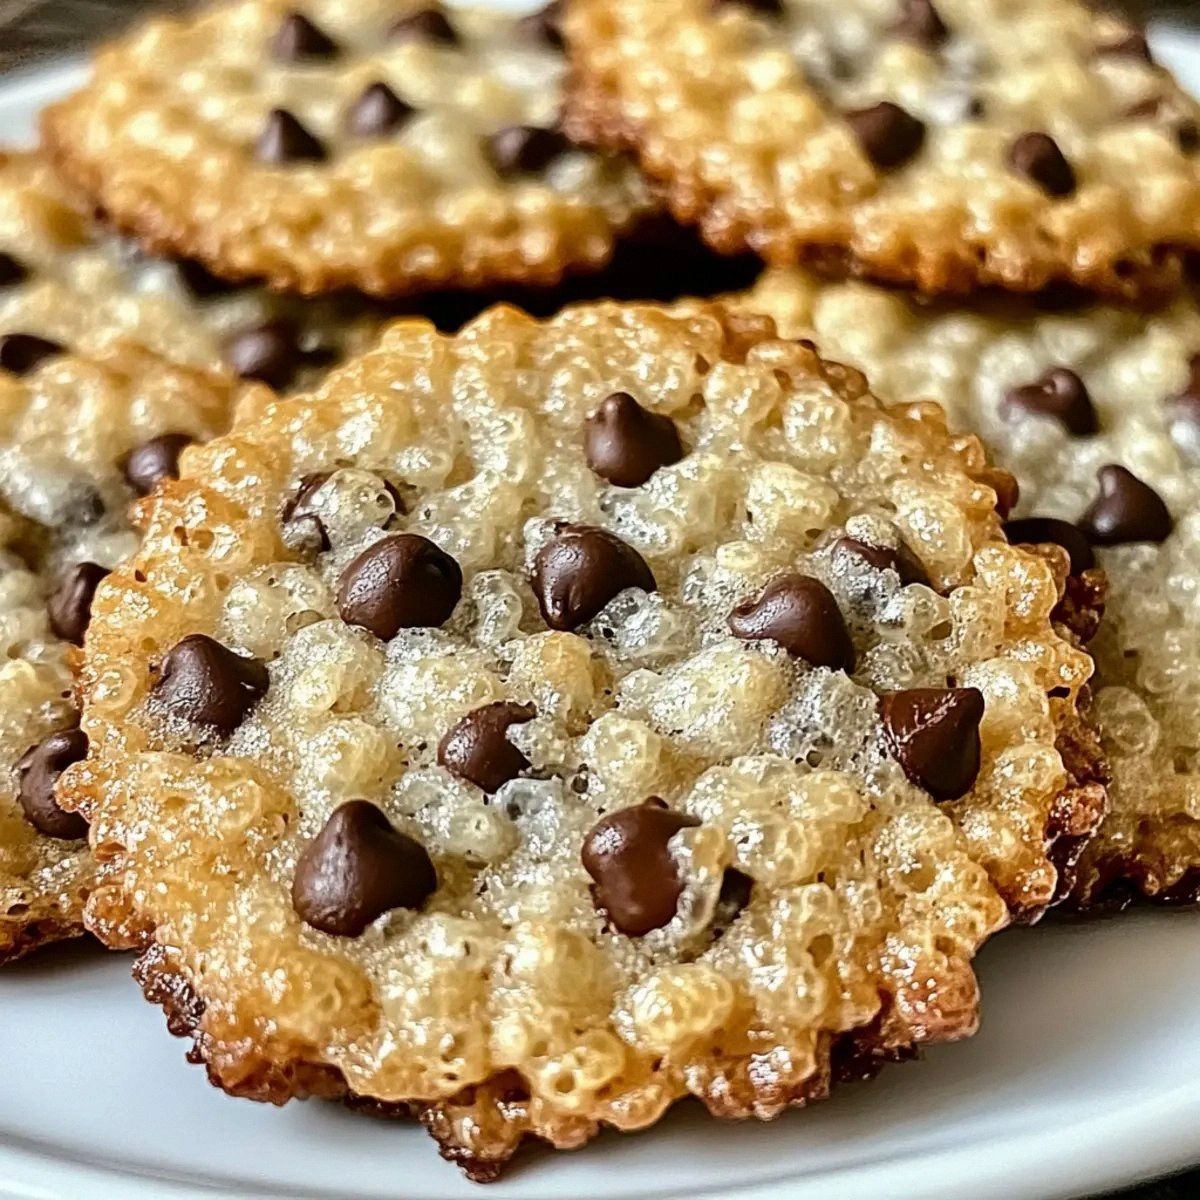
What makes this version a cut above the rest? First, the Rice Krispies add a crackling crunch that stays intact even after cooling, giving you a bite that shatters like thin ice under a warm foot. Second, the balanced blend of brown and granulated sugar creates a caramelized depth without overwhelming sweetness. Third, the mini chocolate chips distribute evenly, ensuring every mouthful is studded with melty chocolate. And finally, the method—mix‑once, scoop‑once, bake‑once—keeps the dough from over‑working, preserving that coveted light‑as‑air texture. I dare you to taste this and not go back for seconds; it’s that good.
Okay, ready for the game‑changer? I’m about to walk you through every single step—by the end, you’ll wonder how you ever made cookies any other way. This isn’t just a recipe; it’s a full‑on sensory adventure, and I’m taking you along for the ride. Let’s dive in and make the crunchiest, most chocolate‑laden cookies you’ve ever imagined.
What Makes This Version Stand Out
- Texture: The Rice Krispies stay crisp, creating a satisfying snap that contrasts beautifully with the soft, chewy interior.
- Flavor Depth: A duo of sugars gives caramel notes while the vanilla and chocolate chips add richness that lingers.
- Simplicity: Only ten ingredients, all pantry‑friendly, and a single bowl technique that saves time and dishes.
- Uniqueness: Most cookie recipes ignore the power of cereal; this one embraces it, delivering an unforgettable crunch.
- Crowd Reaction: Guests often ask for the “secret ingredient,” and you get to smile knowingly while they devour the batch.
- Ingredient Quality: Using real butter and quality mini chocolate chips elevates the overall taste profile.
- Cooking Method: Baking at a moderate temperature ensures the cereal doesn’t burn while the cookies set perfectly.
- Make‑Ahead Potential: These cookies freeze beautifully, letting you pull out a crunchy treat whenever the craving hits.
Alright, let's break down exactly what goes into this masterpiece...
Inside the Ingredient List
The Flavor Base
Butter is the foundation of any great cookie, and using a softened, real‑fat butter (not margarine) ensures a rich, buttery mouthfeel that can’t be replicated with shortcuts. It melts into the sugars, creating a glossy dough that spreads evenly. If you substitute with oil, you’ll lose the structure that gives these cookies their perfect chew. For the best flavor, choose a butter with at least 80% milkfat and let it sit at room temperature for 30 minutes before mixing.
The Sweet Symphony
Brown sugar brings moisture and a deep caramel note, while granulated sugar adds crispness and helps the cookies spread just right. Skipping the brown sugar means you’ll miss that subtle molasses undertone that makes these cookies feel indulgent. If you’re out of brown sugar, you can make a quick substitute by mixing white sugar with a tablespoon of molasses per cup.
The Texture Crew
Rice Krispies are the star of the show. Their airy structure absorbs butter and sugar, creating pockets of crunch that survive the bake. The mini chocolate chips melt into pockets of gooey chocolate without overwhelming the delicate crunch. If you prefer a different crunch, try crushed pretzels or toasted oats, but remember that the flavor balance will shift.
The Unexpected Star
Baking soda isn’t just a leavening agent; it also encourages browning through the Maillard reaction, giving the cookies a golden edge and a slightly crispier bottom. Too much, and you’ll get a metallic taste; too little, and the cookies stay pale and dense. A teaspoon is the sweet spot for a batch that spreads just enough without losing its structure.
The Final Flourish
All‑purpose flour provides the necessary gluten network to hold the cookie together while still allowing it to be tender. Using cake flour would make them too delicate, while bread flour would make them tough. Measure the flour by spooning it into the measuring cup and leveling it off; this prevents over‑packing and keeps the texture light.
Everything's prepped? Good. Let's get into the real action...
The Method — Step by Step
-
Preheat your oven to 350°F (175°C). While the oven warms, line two baking sheets with parchment paper; this prevents sticking and ensures even browning. The heat should be steady—no hot spots—so the cookies bake uniformly. Pro tip: Position the racks in the middle of the oven for best airflow.
Kitchen Hack: Keep a spare baking sheet in the fridge; a cold surface helps the dough hold its shape longer before spreading. -
In a large mixing bowl, cream together 1/2 cup softened butter, 1/2 cup brown sugar, and 1/4 cup granulated sugar until the mixture is light, fluffy, and pale yellow. This should take about 2‑3 minutes with an electric mixer on medium speed. You’ll hear a soft whirring sound and see the mixture become airy—this is the foundation of a tender crumb.
-
Add the large egg and 1 teaspoon vanilla extract to the creamed butter. Beat until fully incorporated; the dough should look glossy and slightly thickened. The egg acts as a binder, while the vanilla amplifies the chocolate flavor without being overpowering.
Watch Out: Over‑mixing at this stage can develop too much gluten, resulting in a tougher cookie. -
Sift together 1 cup all‑purpose flour, 1 teaspoon baking soda, and 1/2 teaspoon salt. Gently fold the dry ingredients into the wet mixture using a spatula. The dough will look a bit shaggy at first; continue folding until just combined—no streaks of flour should remain.
-
Stir in 1 cup mini chocolate chips and 3 cups Rice Krispies cereal. The cereal will sink slightly, creating pockets of air that will expand during baking. Make sure the chips are evenly dispersed; you want chocolate in every bite, not just the edges.
Kitchen Hack: If the dough feels too sticky, chill it for 10 minutes; this makes scooping easier and helps the cookies keep their shape. -
Using a cookie scoop (about 2 tablespoons), drop rounded mounds onto the prepared baking sheets, spacing them 2 inches apart. The dough will spread slightly, but the Rice Krispies will hold the shape, giving you a uniform size. Press each mound gently with the back of a spoon to flatten just a touch—this ensures even baking.
-
Bake for 12‑14 minutes, or until the edges turn a golden‑brown and the tops look set but still slightly soft. The center will continue to firm up as the cookies cool, so pull them out at the right moment. That sizzle when they hit the pan? Absolute perfection.
-
Allow the cookies to cool on the sheet for 5 minutes before transferring to a wire rack. This short rest lets the structure set while the interior stays chewy. As they cool, you’ll hear that faint crackle from the Rice Krispies—a reminder that the crunch is locked in.
That's it — you did it. But hold on, I've got a few more tricks that'll take this to another level...
Insider Tricks for Flawless Results
The Temperature Rule Nobody Follows
Most home bakers set their ovens to the exact temperature the recipe calls for and forget about oven variance. I keep an oven thermometer on hand; if your oven runs hot, lower it by 15°F. This prevents the Rice Krispies from over‑toasting, preserving that delicate snap. One time I baked at a rogue 375°F and the cookies turned into charcoal—lesson learned.
Why Your Nose Knows Best
Your sense of smell is a more reliable indicator than the timer. When the cookies reach the edge‑to‑edge golden hue and you catch a faint caramel aroma, they’re ready. If you wait for the timer to hit 14 minutes every time, you risk over‑baking. Trust that nose of yours—it’s the secret weapon of seasoned bakers.
The 5‑Minute Rest That Changes Everything
After scooping the dough, let it rest on the counter for exactly five minutes before baking. This short pause lets the flour hydrate fully, resulting in a more tender crumb. I once skipped this rest and ended up with a slightly dry edge. The rest isn’t a waste of time; it’s a tiny step that yields a massive payoff.
The Butter Softening Shortcut
If you’re short on time, cut the butter into small cubes and microwave on low power (30% power) for 10‑15 seconds. This softens it without melting, preserving the structure needed for a perfect rise. Over‑softened butter can cause the cookies to spread too thin, losing that coveted crunch.
The Double‑Layer Baking Sheet Trick
Place a silicone mat on the lower rack and a parchment‑lined sheet on the upper rack. This creates a more even heat distribution, preventing the bottoms from browning too quickly while the tops stay soft. I tried this once for a batch of brownies, and the result was a uniform bake—apply the same logic here for flawless cookies.
Creative Twists and Variations
This recipe is a playground. Here are some of my favorite ways to switch things up:
White Chocolate & Coconut
Swap the mini chocolate chips for white chocolate chips and add 1/2 cup shredded coconut. The result is a tropical delight that pairs beautifully with a glass of cold milk. Coconut adds a chewy chew that contrasts the crisp cereal.
Peanut Butter Crunch
Replace half the butter with creamy peanut butter and stir in 1/3 cup chopped peanuts. You’ll get a salty‑sweet combo with an extra layer of crunch. Peanut butter also deepens the flavor, making it a perfect snack for kids and adults alike.
Espresso Infusion
Dissolve 1 tablespoon instant espresso powder in the vanilla extract before adding it to the wet mix. The coffee notes amplify the chocolate, creating a sophisticated flavor profile that’s perfect for after‑dinner treats.
Spiced Autumn
Add 1 teaspoon pumpkin spice and a handful of dried cranberries. The warm spices and tart cranberries make these cookies feel like a hug on a crisp fall day. Serve them with a hot cup of chai for the ultimate seasonal experience.
Gluten‑Free Version
Swap the all‑purpose flour for a 1:1 gluten‑free flour blend and add 1 tablespoon xanthan gum. The texture remains tender, and the Rice Krispies still provide that signature crunch. Just be sure to sift the gluten‑free flour to avoid clumps.
Storing and Bringing It Back to Life
Fridge Storage
Place the cooled cookies in an airtight container with a paper towel at the bottom to absorb excess moisture. They’ll stay fresh for up to a week. The paper towel helps maintain the crunch by preventing steam buildup.
Freezer Friendly
Layer cookies between sheets of parchment paper and store them in a zip‑top freezer bag. They freeze beautifully for up to three months. When you’re ready, let them thaw at room temperature for 15 minutes, then re‑crisp in a 300°F oven for 5 minutes.
Best Reheating Method
To revive that fresh‑out‑of‑the‑oven crunch, place the cookies on a baking sheet, add a tiny splash (about a teaspoon) of water to the tray (not the cookies), and heat at 300°F for 3‑4 minutes. The steam revitalizes the interior while the heat restores the outer snap.